

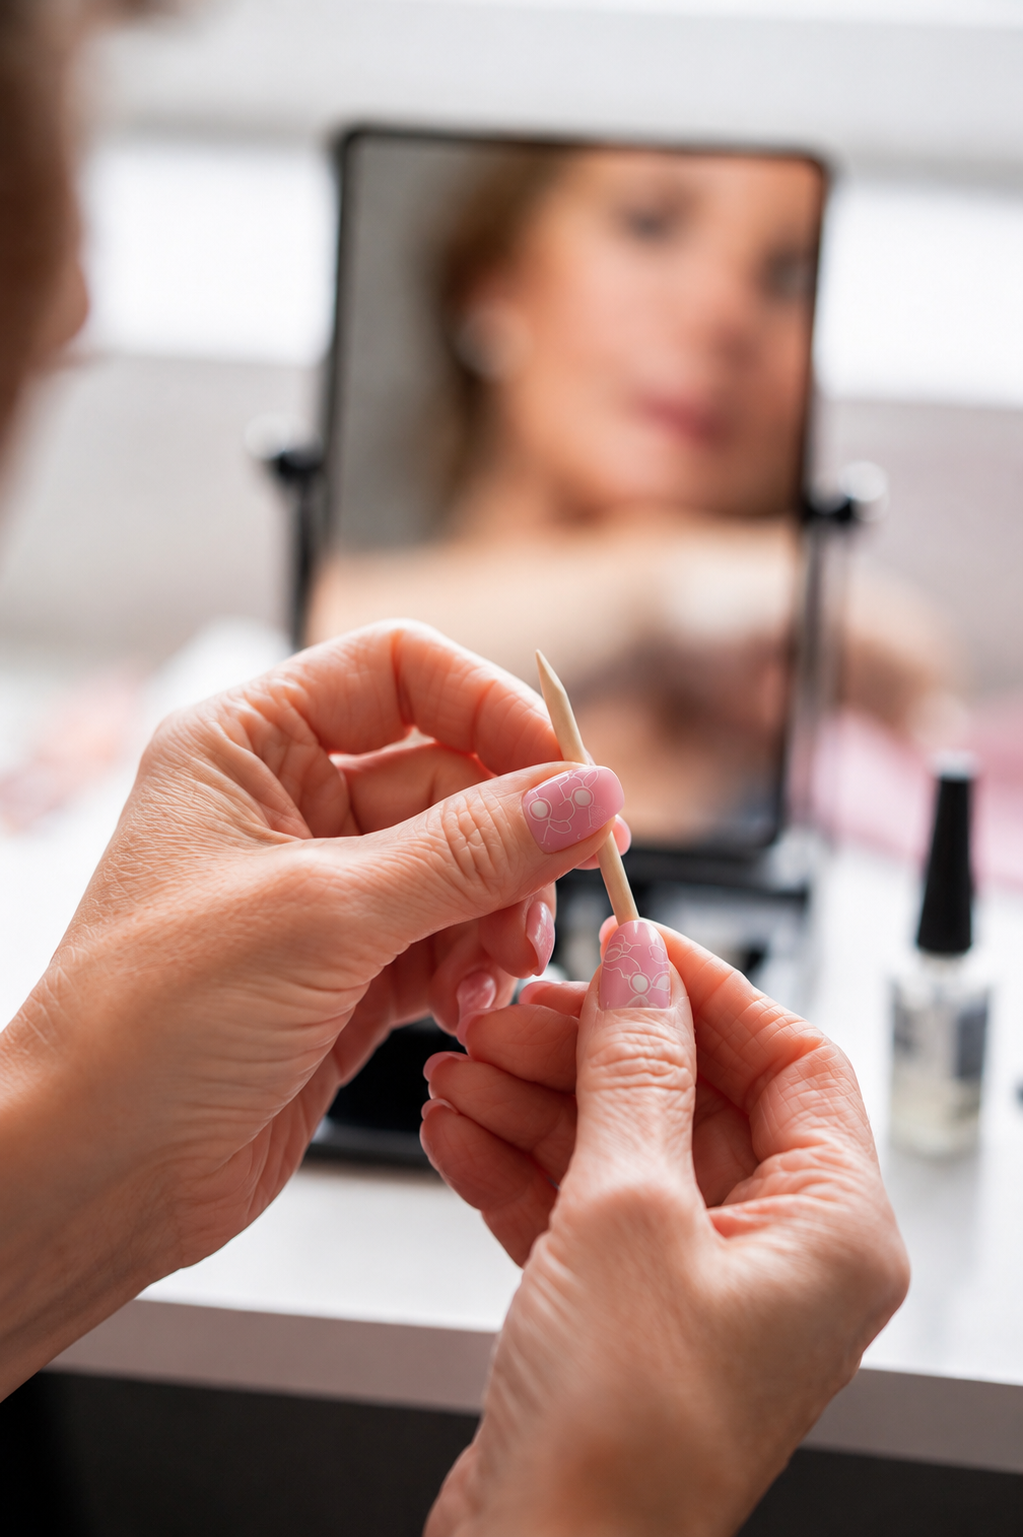
Getting press-on nails to stay on for more than a few days is one of the biggest frustrations women share. Many people apply them quickly, only to watch them lift or fall off within a day or two. The good news is that most of these problems come down to a few simple steps that are easy to fix.
When you apply press-on nails the right way, they can last 10 to 14 days for many women. This guide walks you through every step clearly so your manicure stays put and looks polished longer.
Why Press-On Nails Fall Off Too Soon
Most early failures happen for the same reasons. The natural nail surface was not clean enough. The size was slightly off. The adhesive was applied unevenly. Or the nails were exposed to water too soon after application.
Your natural nails need a clean, dry, lightly textured surface for the adhesive to bond well. Skipping even one prep step often shortens wear time dramatically. Taking a few extra minutes at the beginning makes a noticeable difference.
What You Need Before You Start
Gather everything first so the process stays smooth:
- Your Unora press-on nail set (or any soft gel press-ons)
- Nail file and buffer
- Cuticle pusher or orange stick
- Alcohol pads or nail dehydrator
- Nail glue or the adhesive tabs that came with the set
- Cuticle oil for later care
Having these ready prevents rushing and helps you get a better result.
Step 1: Prep Your Natural Nails Thoroughly
This is the most important step for long wear.
Start by removing any old polish. Gently push back your cuticles. Avoid cutting them if possible. Trim and file your natural nails short so no free edge shows once the press-on is applied.
Lightly buff the surface of each nail to remove the natural shine. You are not trying to thin the nail — just create a slightly rough texture so the adhesive can grip. Wipe away the dust.
Finally, clean each nail with an alcohol pad. This removes oils and residue that prevent a strong bond. Let your nails dry completely before moving on.
Step 2: Choose the Right Size for Each Finger
Sizing is often overlooked, yet it strongly affects how long the nails stay on.
Place the press-on over your natural nail without adhesive first. It should cover the nail bed from sidewall to sidewall without overlapping onto the skin. If it is too wide, it will lift. If it is too narrow, the edges will not seal properly.
Most Unora sets include a wide range of sizes. Take your time matching each finger. A good fit looks more natural and creates a stronger hold.
Step 3: Apply the Adhesive Correctly
You can use the adhesive tabs that come with many sets or a quality nail glue. Glue generally lasts longer for most people.
If using glue, apply a thin, even layer to both your natural nail and the underside of the press-on. Too much glue can create air pockets or ooze out the sides. Too little will not hold well.
Press the press-on onto your nail at a slight angle, starting from the cuticle and rolling toward the tip. Hold firmly for 20 to 30 seconds. Press out any air bubbles as you go.
Work one nail at a time so the glue does not dry before you apply it.
Step 4: Finish and Set the Nails
Once all nails are on, check the edges. Gently file any small overhangs so the press-on sits flush with your natural nail.
Avoid water, steam, and heavy hand use for at least the first hour. This gives the adhesive time to fully set. Many women find that waiting a full hour before washing hands or doing dishes improves wear time.
Daily Habits That Help Press-On Nails Last Longer
Application is only half the story. How you treat the nails after they are on also matters.
Wear gloves when washing dishes, cleaning, or doing anything that involves prolonged water or chemicals. Water is one of the main reasons press-ons start to lift at the edges.
Apply a small amount of cuticle oil around the base of each nail every day. This keeps the skin soft and helps maintain the seal. Avoid picking or pulling at the nails, even if you notice a tiny lift.
If a nail does start to lift slightly, you can sometimes press it back down with a tiny bit of extra glue. Catching it early often saves the set.
How to Remove Press-On Nails Without Damage
When you are ready to take them off, do not force them. Soak your fingertips in warm, soapy water for 10 to 15 minutes. You can add a few drops of oil to help loosen the bond.
Once the nails feel loose, gently lift them from the side. Never pry or pull hard. After removal, clean your natural nails and moisturize well. Giving your nails a short break between sets is a good habit for long-term nail health.
Common Mistakes That Shorten Wear Time
- Skipping the alcohol wipe or buffing step
- Choosing a size that is even slightly too big or too small
- Applying too much or too little glue
- Getting the nails wet too soon after application
- Picking at the edges throughout the day
Avoiding these simple mistakes can easily add several days of wear.
Final Tips for the Best Results
Practice makes the process faster and more consistent. The first time may take 20 to 25 minutes. After a few sets, many women finish in under 15 minutes.
Store any unused nails in a clean, dry place until you're ready to use them. Keeping your press-on nails organized and protected helps prevent scratches or damage before application.
If you have thinner or more flexible natural nails, take extra care with sizing and hold time during application. A solid bond from the start is especially helpful.
Closing Thoughts
Applying press-on nails that last starts with proper preparation, careful sizing, and good application technique. A few extra minutes of prep can make the difference between nails that lift after a day and nails that stay secure for over a week.
Unora press-on nails are made to feel natural and look elegant while fitting into real life. With the right application technique, they become a reliable way to keep your hands looking put-together.
Try the steps above on your next set and notice the difference in how long they stay secure and looking fresh.
