

Nail Guides
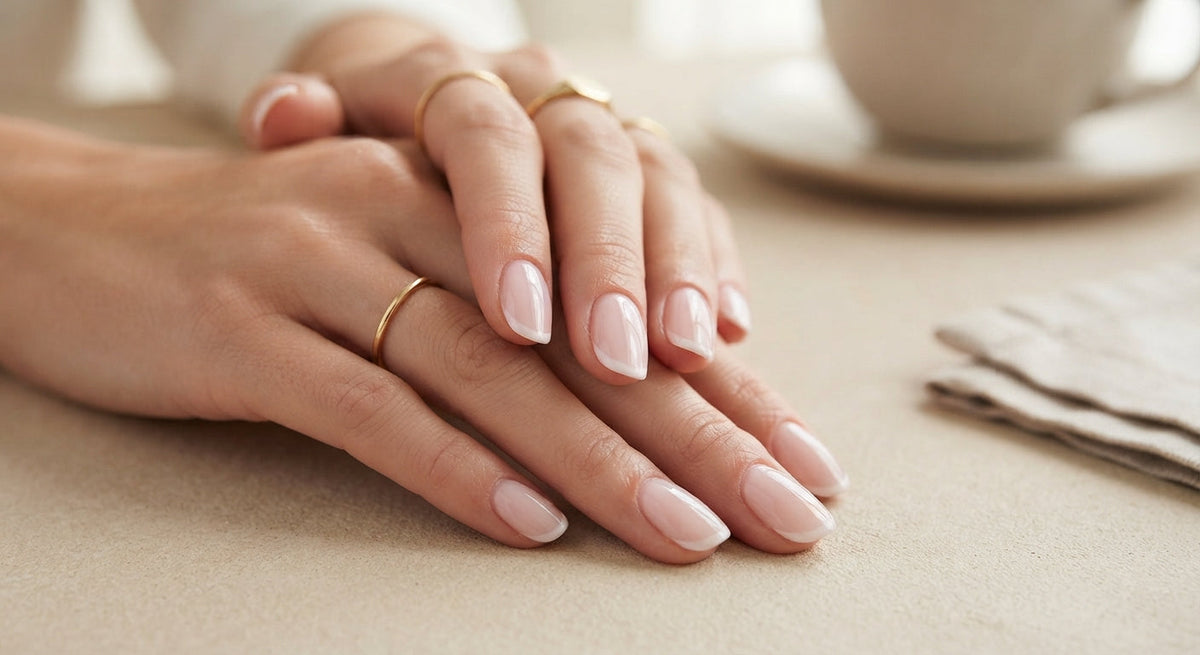

How to Choose the Right Press-On Nail Size & Shape
If your press-ons feel uncomfortable, lift at the sides, or just look “off,” the problem is almost always the size or shape, not the nails themselves. The right fit should feel secure, look natural, and help the set last longer. Getting size and shape right is one of the biggest factors in whether press-ons stay on for a few days or a full 10–14 days. Here’s how to choose correctly every time. Looking for press-ons with a full size range and flattering shapes? Explore our long-lasting press-on collection to find your perfect fit. Why Size and Shape Matter So Much A press-on that’s even slightly too wide will press against the sidewalls and start lifting. One that’s too narrow leaves gaps and looks unnatural. The wrong shape can make your fingers look shorter, wider, or less polished than they actually are. When the nail matches your natural nail bed in both width and curve, the adhesive has full contact and the set feels comfortable from day one. Step 1 – Find Your Correct Width Most quality sets come with multiple sizes (usually 10–15 different widths). Here’s the simple way to match them: Hold the press-on over your natural nail. It should cover the nail from sidewall to sidewall without overlapping the skin. There should be no big gaps on the sides. The press-on should sit centered on the nail bed. Do this for every finger. Your left and right hands are often slightly different. Many people size their thumbs and pinkies separately because those nails tend to be wider or narrower than the rest. Pro tip: If you’re between sizes, choose the slightly smaller one. A tiny gap is better than a press-on that hangs over the sidewalls. Step 2 – Match the Curve of Your Nail Bed Some natural nails are flatter, others have more of a curve. If the press-on is much more curved than your nail, it can create pressure points and pop off early. If it’s too flat, the edges won’t make good contact. When you test the size, press the nail down gently in the center. It should sit flush without rocking or needing force. Step 3 – Choose a Shape That Flatters Your Hands Different shapes change how your fingers look: Almond – Elongates the fingers and is one of the most flattering shapes for most people. Great everyday choice. Coffin / Ballerina – Modern and stylish. Looks best with medium to longer lengths. Square – Clean and classic. Works well on shorter nails and people who want a more natural look. Round / Squoval – Soft and low-maintenance. Ideal if you type a lot or prefer something practical. Stiletto – Dramatic and long. Best if you want maximum length and statement style. If you’re unsure, almond or soft coffin are the safest starting points for most hands. Step 4 – Decide on Length Longer nails look more dramatic but are more likely to catch on things and lift. Shorter to medium lengths are usually more comfortable for daily life and tend to last longer. A good rule: the press-on shouldn’t extend so far past your fingertip that it feels awkward when you type, text, or open doors. Step 5 – Test Before You Glue Always do a dry fit first. Lay out all the sizes on your nails before applying any adhesive. Once you’re happy with the width, curve, shape, and length, then move on to application. This extra minute prevents the most common reason press-ons fail early — a poor fit. Quick Fit Checklist Covers sidewall to sidewall with no overlap onto skin Sits flush without rocking Feels comfortable when you press down Length feels manageable for your daily routine Shape flatters your finger length and nail bed Final Thoughts The right size and shape make press-ons more comfortable, more natural-looking, and longer-lasting. Once you know your widths and preferred shape, ordering becomes easy and results become consistent. Ready to find your fit? Browse our long-lasting press-on collection and choose the shape that works best for you.
Learn more
How to Apply Press On Nails So They Last Longer (Step-by-Step Guide)
Learn how to apply press on nails so they last longer with this clear step-by-step guide. Simple tips for better hold and a polished look.
Learn more
How to Make Press On Nails Last Longer: Simple Tips That Work
Learn how to make press on nails last longer with simple prep, application, and daily care tips that help your manicure stay put for up to 2 weeks.
Learn more
Unora Press-On Nails: Salon-Quality Manicures at Home in Minutes
Discover why busy women are switching to Unora Press-On Nails for salon-quality manicures at home.
Learn more