

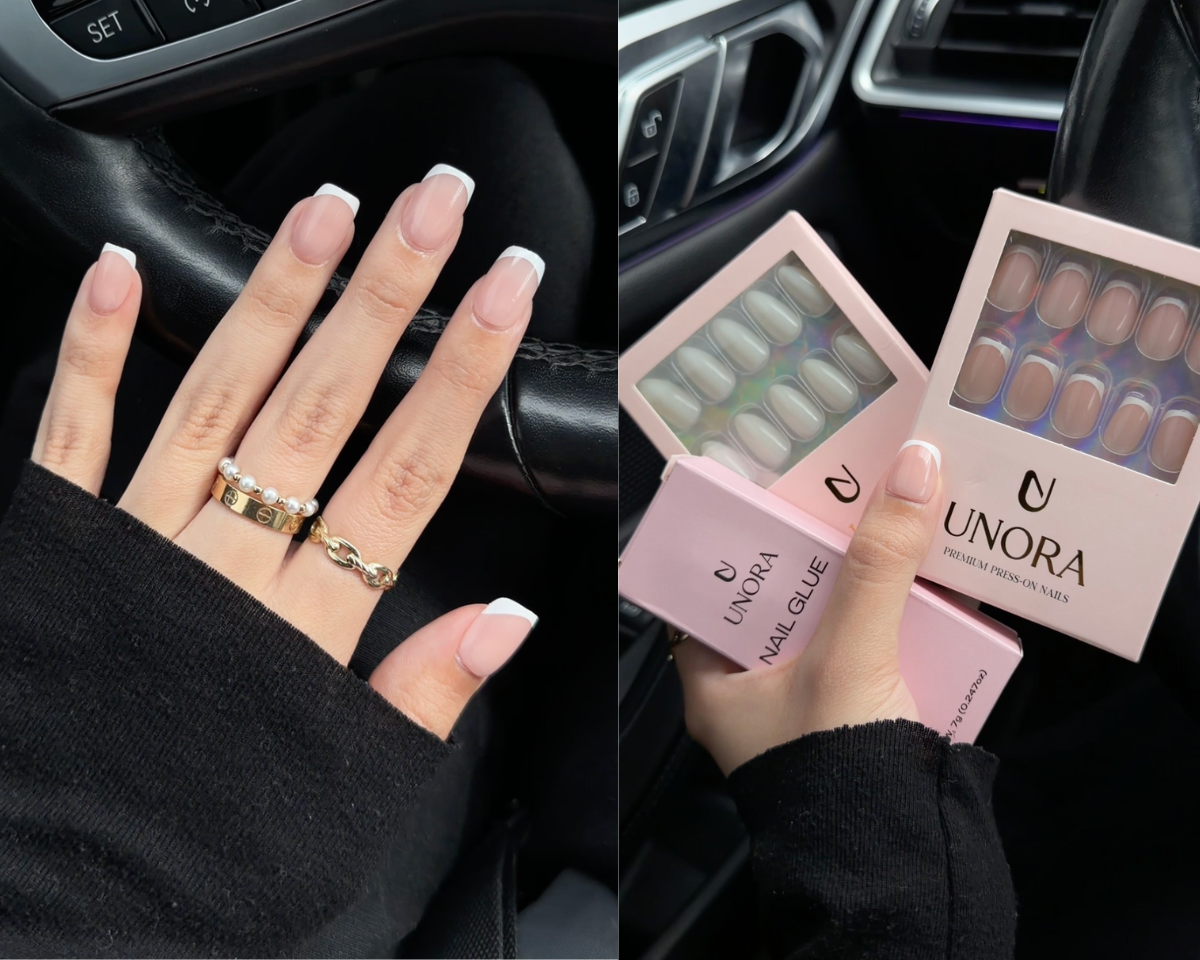
If your press-on nails keep popping off after a few days, the problem usually isn't the nails, it's the application. With the right prep and a few simple habits, many women can comfortably wear quality press-ons for 10–14 days.
Most early failures come from the same causes: incomplete prep, wrong sizing, water exposure too soon, or daily habits that weaken the bond. The tips below focus on solving those problems. They work with almost any quality press-on set and can help you reach one to two weeks of comfortable wear.
Let’s walk through the process from start to finish.
Why Press On Nails Fall Off Early
Press-on nails need a clean, dry surface and a good fit to stay in place. Oil, lotion, or leftover polish create a barrier that stops the adhesive from gripping. Nails that are too long or the wrong shape put pressure on the edges and cause lifting. Water and household chemicals are also common culprits if they reach the bond too early.
Understanding these reasons makes the solutions much clearer.
Step 1 – Start with Proper Nail Prep
Good prep is the foundation of long-lasting wear. Begin by removing any old polish or oil. Wash your hands with soap and dry them completely. Use a soft buffer to lightly dull the shine on your natural nails. This gives the adhesive something to hold onto without thinning the nail.
Gently push back your cuticles with a wooden stick or soft pusher. Wipe each nail with an alcohol pad or nail dehydrator to remove the last traces of oil. Let everything dry fully before moving on. Skipping or rushing this step is the most common reason press-ons fail early.
Step 2 – Choose the Right Size and Fit
A press-on that is even slightly too wide or too narrow will lift. Take time to match each finger carefully. The nail should cover the natural nail from sidewall to sidewall without overlapping the skin. If the curve of the press-on does not match your nail bed, it can create pressure points that cause pop-offs later.
Many sets include multiple sizes for this reason. Test the fit before applying any glue. A proper size feels secure and looks natural, which also helps the manicure last longer.
Looking for press-ons designed for comfortable, long-lasting wear? Explore our long-lasting press-on nail collection to find your next set.
Step 3 – Apply Correctly for a Strong Bond
Whether you use glue or adhesive tabs, application technique matters. For glue, apply a thin, even layer to both the natural nail and the press-on if recommended. Press the nail on at a slight angle, starting from the cuticle and working outward. Hold firmly for 20–30 seconds to set the bond.
Avoid air bubbles by pressing evenly. Give the adhesive time to cure before using your hands heavily. Many people find that waiting at least an hour before dishwashing or heavy activity improves longevity.
If you're applying press-on nails for the first time, check out our How to Apply Press-On Nails guide for a complete step-by-step walkthrough.
Step 4 – Protect Your Nails During Daily Life
Water and chemicals are the biggest threats after application. Wear rubber gloves when washing dishes, cleaning, or doing laundry. Hot water and detergents can weaken the bond over time.
Be mindful during showers and hand washing in the first day or two. Pat hands dry instead of rubbing. These small protections make a noticeable difference in how long the set stays intact.
Step 5 – Simple Daily Habits That Help
A few everyday habits support longer wear. Apply a drop of cuticle oil around the edges once or twice a day. This keeps the skin soft and helps seal the perimeter of the nail. Avoid picking or peeling at the edges, even if you feel a small lift.
If you notice a corner starting to lift, you can often re-secure it with a tiny bit of glue rather than removing the whole set. Consistency with these habits helps many women reach 10–14 days of wear.
How to Remove Press On Nails Safely
When you are ready to remove the set, do it gently so you can reuse the nails and protect your natural ones. Soak your fingertips in warm soapy water for 10–15 minutes. Add a little oil if desired. The press-ons should loosen enough to lift carefully from the side.
Never force or pry them off. Clean the natural nails and the press-ons thoroughly before storing the set for another wear. Proper removal keeps both your nails and the press-ons in better condition.
Looking for your next set? Browse our collection of press-on nails to find timeless styles for every occasion.
Final Thoughts
Making press-on nails last longer comes down to thorough prep, correct sizing, careful application, and daily protection. These steps are simple and work with most quality sets. When you follow them consistently, one to two weeks of wear becomes realistic for many women.
Quality materials and a good fit make the process easier and more comfortable. The most important part is building the habits that protect the bond.
With a little practice, you can enjoy polished, confident nails that fit into real life instead of fighting against it.
